
Your kitchen costs ₹15 to 40 lakhs to build.
Automated CNC joinery. German Blum hardware. Imported quartz surfaces.
Then someone photographs it with a wide-angle smartphone lens under harsh ceiling light.
The result? It looks identical to a ₹3-lakh local carpenter build.
The problem isn’t the kitchen. It’s the documentation.
Why Standard Photos Kill Modular Kitchen Sales
Harsh ceiling downlights bounce white hotspots off quartz countertops. Walls keystone inward. Cabinet lines that are perfectly aligned look crooked on camera.
Six months of engineering precision disappears in one bad frame.
Cinematic kitchen photography fixes this with a deliberate three-stage sequence:
- Wide architectural layout – ergonomic flow and spatial scale
- Mid-range functional zones – work triangle and island geometry
- Tight macro details – hardware, textures, edge profiles
That sequence converts a website visitor into a showroom inquiry.
Pre-Shoot: The Zero-Reflection Detailing Protocol
Before the camera comes out, the kitchen needs work.
High-resolution sensors amplify every micro-flaw – oil smudges on the hob, water spots on faucets, fingerprints on glass shutters, dust on acrylic panels.
The 70% Countertop Declutter Rule.
Strip 70% of everyday items. Keep only 1–2 curated accents – a sculptural ceramic vessel, an open cookbook on an oak stand.
The Microfiber & Isopropyl Wipe-Down.
Every glossy surface gets cleaned. Quartz countertops. Glass shutters. Induction tops. Black chrome fittings.
Appliance Alignment.
Level all built-in oven trays. Align faucet spouts precisely perpendicular to the sink edge. Every cabinet door sits perfectly flush on its hinges before a single frame is taken.
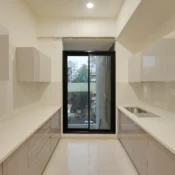
High-gloss upper shutters and white quartz countertop with sink — reflection managed at 45-degree camera angle.
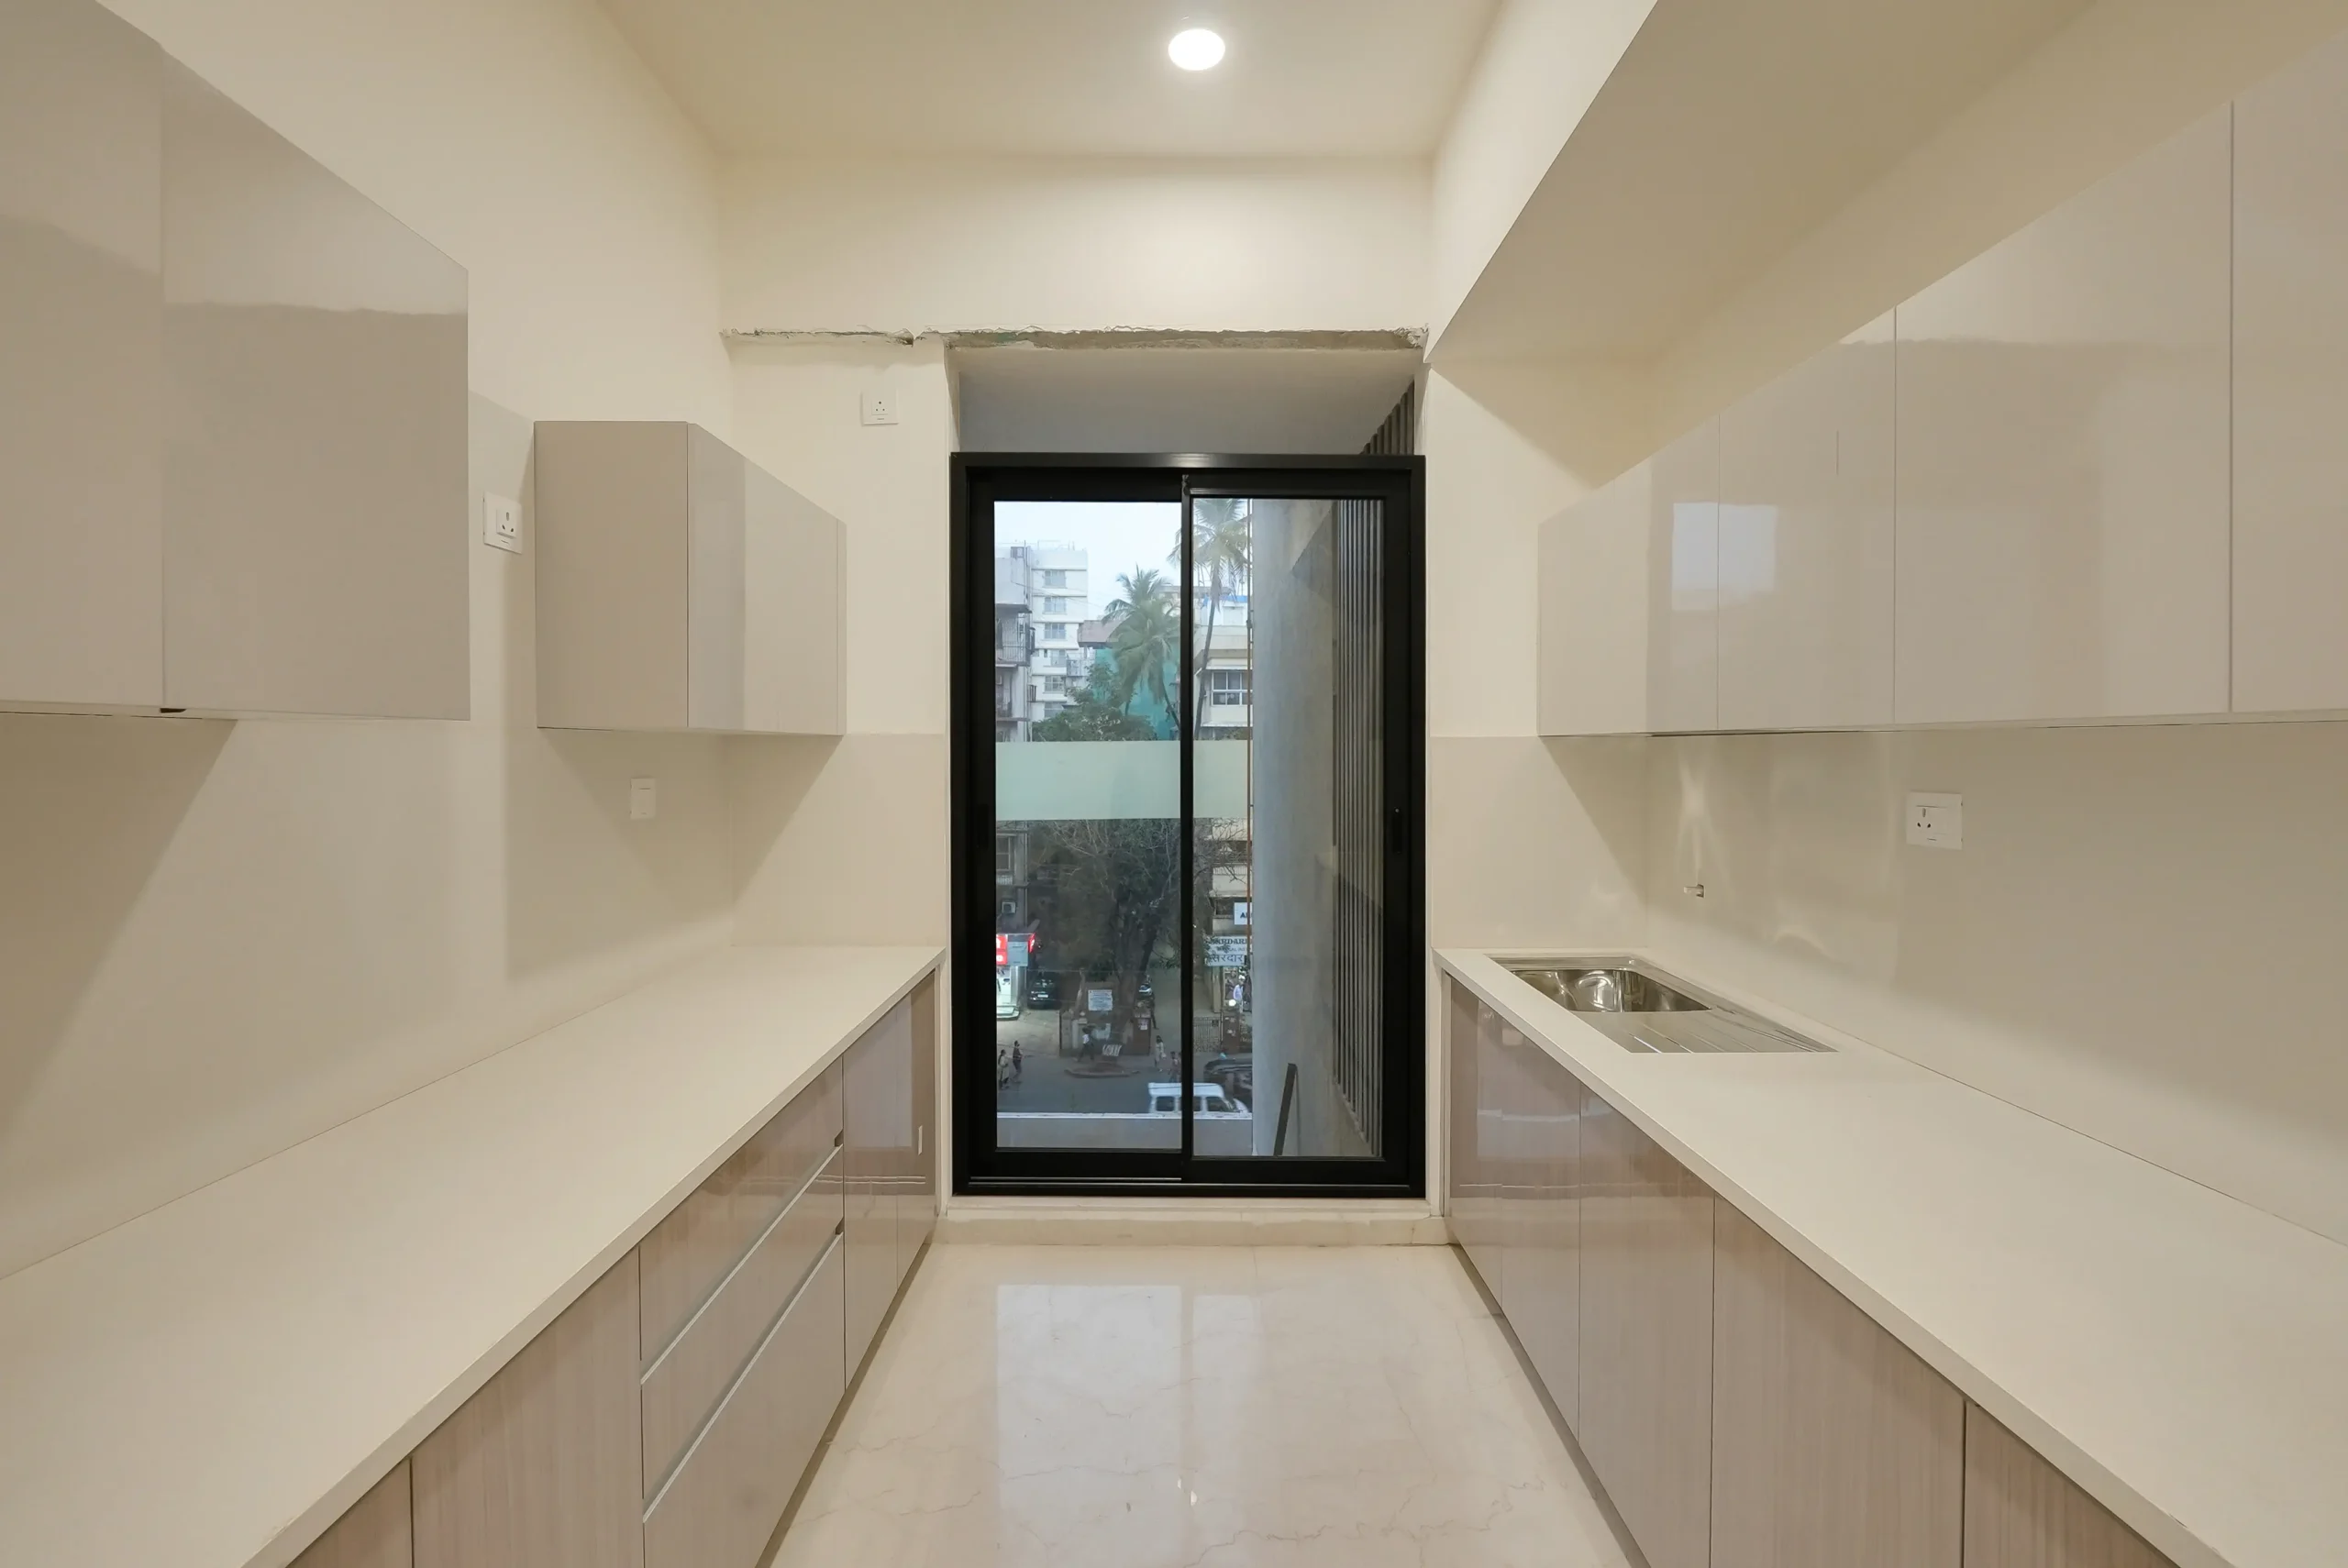
This frame shows exactly why complete countertop decluttering matters before the camera is set up. With both runs fully cleared, the leading lines from the countertops carry the eye all the way to the black-framed window at the back wall.
The window introduced a colour temperature challenge – the street-facing natural light was significantly cooler than the interior ambient, requiring careful exposure management to hold exterior detail without letting the white countertops shift too warm.
Camera Height & Lens: The Two Decisions That Change Everything
Eye level is the wrong height. Always.
At 5.5 to 6 feet, the camera tilts downward. Upper cabinets get cut off. Counter depth flattens. Cabinet lines converge.
The Counter-Plus Height Rule:
Lock the tripod between 38 and 44 inches – just above countertop level. This balances floor tiles and overhead lift-up units in the same frame.
Lens Selection:
- 24mm Tilt-Shift – Wide establishing shots with zero keystoning, parallel verticals
- 35–50mm Prime – Natural perspective showing island-to-counter relationship and walking aisle
- 85mm Macro – Hardware close-ups, edge-banding detail, texture isolation
Never go below 20mm. Below that, sofas become trapezoids and cabinet lines curve outward.
This parallel layout is exactly where one-point perspective does its best work. Shooting from the entry point with the camera at counter height, both runs lead the eye straight to the back wall – the space reads deeper than it actually is. The single ceiling downlight was creating a hard pool of light on the floor, so we turned it off and worked with ambient fill from behind the camera instead.
Controlling Hostile Reflections
Polished quartz. Lacquered acrylic. Tinted glass cabinets.
Every premium kitchen surface is a reflection problem on camera.
Three tools that solve it:
Circular Polarizer (CPL) Filter.
Mount it on the lens, rotate until the glare disappears. Eliminates surface reflections on non-metallic counters and glass panels without affecting overall exposure.
Diffusion Flags & Scrims.
40×60 inch translucent panels positioned out of frame bounce soft light onto glossy shutters and eliminate pinpoint hotspots from ceiling downlights.
The 45-Degree Rule.
Position the camera at 45 degrees relative to glass cabinet doors. The camera, the lights, and the crew stay out of the reflection entirely.
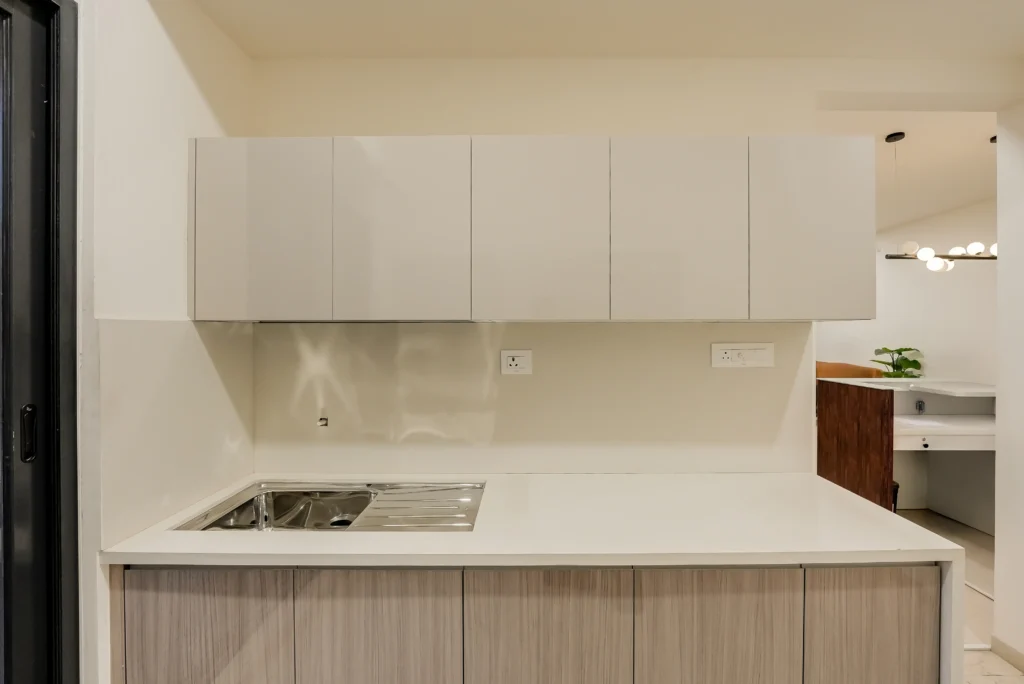
High-gloss upper shutters and white quartz countertop with sink — reflection managed at 45-degree camera angle.
Those high-gloss upper shutters picked up every light source in the room – the ceiling reflection was bleeding across the panel faces even in ambient conditions. We positioned the camera at roughly 45 degrees and flagged the ceiling downlight out of frame before the shutter surfaces read cleanly. The opening to the adjacent room actually helped – it let us bounce a small amount of fill light through from the other side without introducing any additional stands into the frame
The 3-Tier Lighting Setup: Flambient for Kitchens
Every Mumbai kitchen has the same lighting war.
5600K daylight from the window. 4000K commercial ceiling spots above. 3000K warm LED strips under the cabinets.
The camera cannot render all three correctly in one frame.
The fix: Turn off the ceiling downlights.
Rely on indirect ceiling coves, architectural task lights, and bounced strobes only. Then shoot the Flambient 3-Exposure Blend:
- Frame 1 (Ambient) – Expose for the 3000K under-cabinet profile glow and shelf backlights
- Frame 2 (Flash Pop) – Bounce an off-camera strobe off the ceiling behind the camera, flooding the room with clean 5600K light that cuts yellow color casts on cabinet doors
- Frame 3 (Window Pull) – Underexpose specifically for the exterior balcony view
Blend all three in Photoshop using Luminosity Masks. Clean color fidelity. Warm ambient mood. Natural exterior view. One frame that couldn’t exist any other way.
The 85mm Macro Hardware Story
Wide establishing shots prove the kitchen exists.
They cannot prove why it costs more.
They cannot communicate soft-close damper movements, zero-tolerance joinery, or the tactile difference between a Blum bi-fold mechanism and a basic hinge.
Switch to an 85mm or 100mm macro at f/2.8–f/4.
Move close. Let the background blur. Let the hardware fill the frame.
Raking side light – positioned at 45 degrees across the shutter edge – catches PUR laser edge-banding and surface texture that flat overhead light makes completely invisible.
Interaction shots that close sales:
- Hand opening a touch-to-open bi-fold upper cabinet
- Soft-close drawer closing in its final centimeters
- Pull-out pantry unit revealing organized interior storage
These are the frames that make a ₹30-lakh kitchen look worth every rupee to someone who has never touched it.
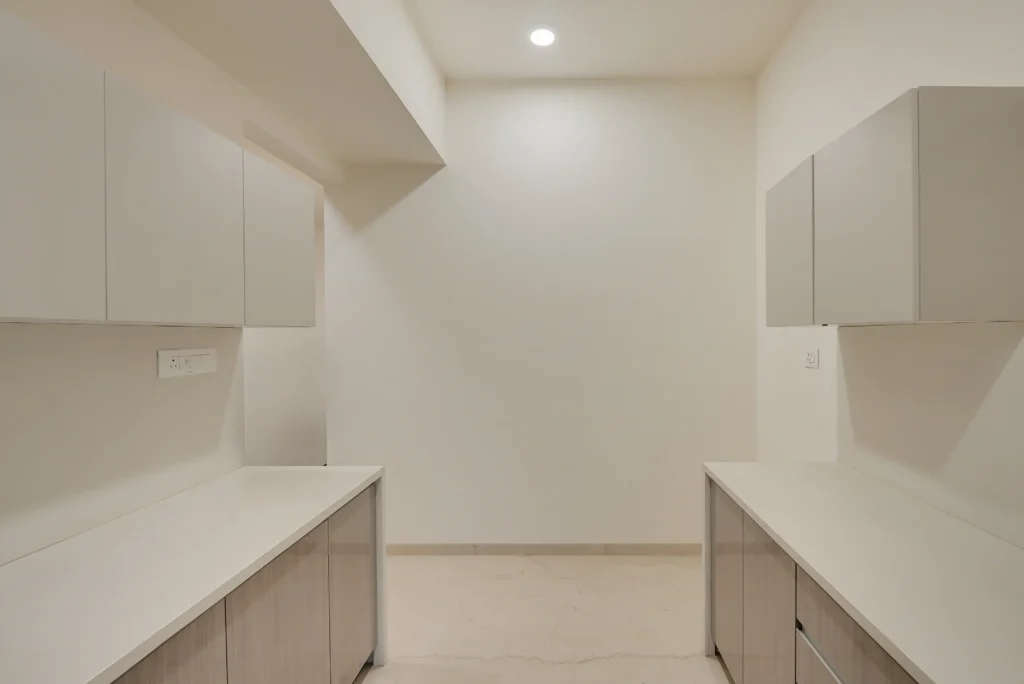
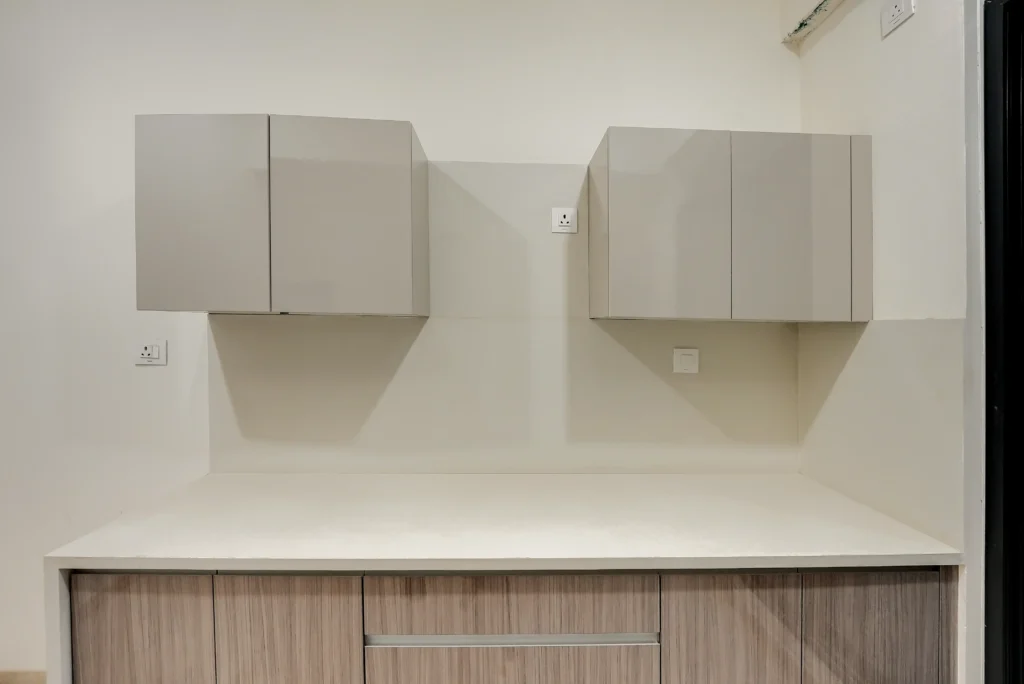
The gap between the two upper cabinet clusters is a design decision that disappears completely in a flat wide shot. Moving to a longer focal length and stepping back slightly brought that negative space into the composition properly, separating the cabinet blocks and showing the deliberate symmetry. The woodgrain base cabinet texture also only reads correctly when you control the angle of light – flat frontal light kills it entirely, side light brings every grain line forward.
Gimbal Movements That Sell Kitchen Engineering
Shaky phone walkthroughs move too fast, cause motion sickness, and look amateurish to luxury homeowners.
Motorized Gimbal Discipline:
Walk at half normal speed, knees slightly bent, heel-to-toe foot roll. Eliminates vertical bounce completely.
The 4 Essential Kitchen Moves:
- The Island Reveal – Start low behind the island, jib up smoothly to reveal the full cooking zone
- The Lateral Counter-Glide – Slide horizontally along the quartz edge at counter height
- The Mechanical Push-In – Slow push toward a soft-closing drawer as it opens
- The Vertical Pull-Back – Pan from the ceiling rack downward to the prep area
Shoot at 60fps or 120fps for slow-motion playback. Always leave 2-second static handles at start and end of every clip.
The Shoot Day Checklist
| Category | Item | Standard |
| Cleanliness | Countertops & splashback | Zero oil marks, zero water droplets |
| Cleanliness | Glass & metal shutters | Isopropyl wipe; zero fingerprints |
| Appliances | Built-in ovens & chimney | Internal lights on; glass polished |
| Hardware | Shutter alignment | All reveals and gaps equal |
| Lighting | LED strip uniformity | All at 3000K warm white |
| Lighting | Ceiling spotlights | OFF or dimmed to 10% |
| Camera | Tripod height | 38–44 inches strictly |
| Camera | Level calibration | 0.0° dual-axis |
| Coverage | Final asset suite | 1 wide + 1 island hero + 4 macros + 2 reels |
Your Kitchen Engineering Deserves Better Than a Phone Photo
You’ve invested in the best hardware. The best surfaces. The best installation team.
A smartphone snap documents that the kitchen exists. It cannot prove why it costs what it costs.
Cinematic360 produces commercial modular kitchen photography and video walkthroughs for kitchen studios, interior designers, and luxury developers across Mumbai.
Explore our real estate photography, commercial photography, and interior shoot work to see the approach across every category.
Book a Modular Kitchen Shoot Consultation with Cinematic360
FAQ
Why do my cabinet lines look crooked in photos?
Camera tilted at eye level. Set tripod to 38–44 inches, keep it perfectly level – or use a tilt-shift lens.
How do I shoot a countertop without glare?
CPL filter rotated until glare disappears. Ceiling spotlights off. Softboxes bounced away from the counter’s angle of incidence.
Best lens for modular kitchen photography?
24mm tilt-shift for establishing shots. 35–50mm prime for zone shots. 85mm macro for hardware and edge-banding detail.
How many images for a complete kitchen showcase?
8 to 12 deliverables: 2 wide establishing shots, 2 mid-shots, 4 macro details, 2 vertical video walkthroughs.
Your Kitchen Engineering Deserves Better Than a Phone Photo
You’ve invested in the best hardware. The best surfaces. The best installation team.
A smartphone snap documents that the kitchen exists. It cannot prove why it costs what it costs.
Cinematic360 produces commercial modular kitchen photography and video walkthroughs for kitchen studios, interior designers, and luxury developers across Mumbai.

[…] Modular Kitchen Photography: The Cinematic Guide to Showcasing – cinematic360 September 17, 2026 […]