
If you want to photograph interior spaces like a cinematographer, start with a waist-height wide establishing shot (36-48 inches) with a 24- 50 mm lens to avoid distortion, and sequence – wide to medium to close-up detail. Use the Flambient technique for mixed lighting, incorporate foreground elements for depth, and shoot gimbal movements to connect spaces cinematically.
Most interior shoots go wrong in the first five minutes before a single frame has been shot. The photographer sets up at eye level, takes out the widest lens in the bag, and starts shooting. The room seems stretched. The lines bend. There is no ceiling. A designer’s six months of work looks like a rental listing. Shooting interiors like a cinematographer is about making decisions before the camera comes out – where to stand, what to shoot first, how to move around the space, and what details actually tell the story of the design.
Before You Shoot Any Interior – The 10-Minute Setup Rule.
- Walk every room before touching the camera
- Identify the practical light sources – windows, ceiling spots, lamps
- Decide the sequence: which room establishes the space, which details close it
- Remove 30% of objects from every surface
- Steam all fabric – cushions, drapes, throws
The Lens Rule That Applies to Every Interior.
- 24–35mm – establishing shots, wide room views
- 50mm – natural human perspective, vignettes
- 85mm – detail shots, texture, compression
- Never go below 16mm unless you want distortion
- Tilt-shift for lines that must be perfectly parallel
One rule: Wide to establish. 50–85mm to tell the real story.
Camera Height – The Setting Most Photographers Get Wrong
- Eye level (5.5ft) shows too much floor and bottom of cabinets – avoid
- Waist level (36–48 inches) balances ceiling and floor naturally
- For detail shots – get physically close and go lower
- For overhead detail (countertop, tabletop) – directly above at 90°
How to Shoot a Modular Kitchen.
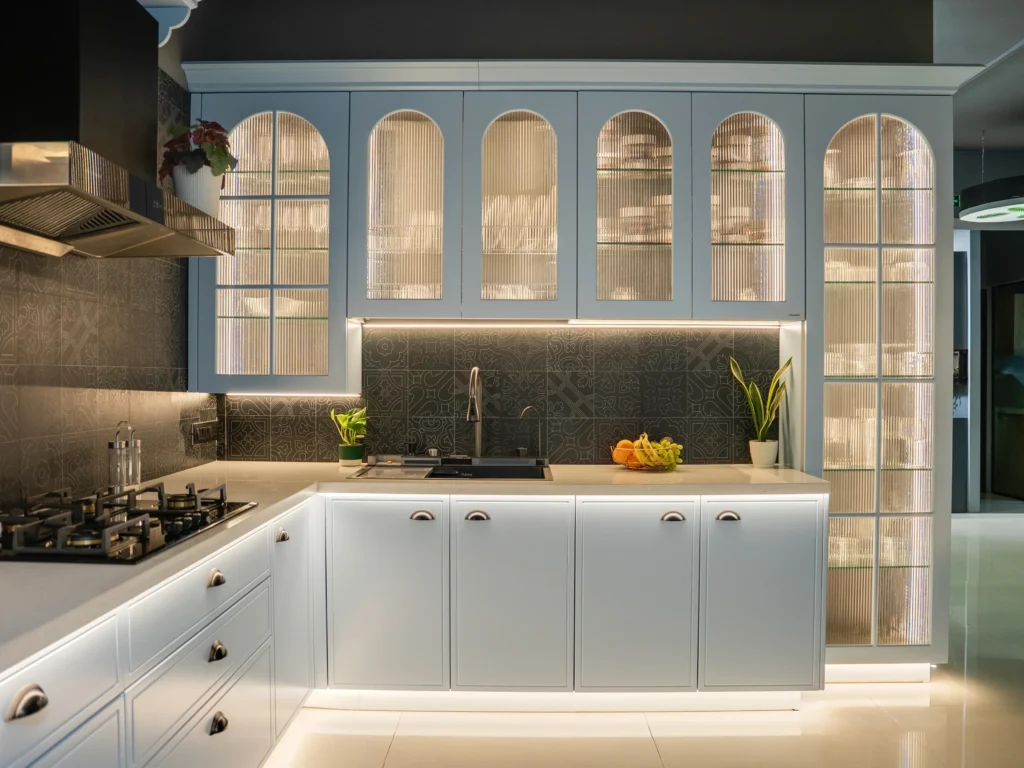
Professional Modular Kitchen Photography by Cinematic 360
Approach first:
Stand at the entrance. Look at the full layout – the work triangle, the island, the storage flow.
Lens: 24-35mm for the full layout. 85mm for hardware, edge profiles, countertop texture.
Camera position: Slightly off-center from the main counter – not dead-on. Shows depth and the relationship between zones.
Angles to capture:
- Full kitchen from entrance – one-point perspective
- Corner angle showing both countertops meeting
- Overhead flat-lay of countertop styling
- Eye-level close-up of handles, hinges, cabinet edges
Camera Moment: Slow lateral gimbal slide down the counter length – reveals the full kitchen piece by piece rather than all at once.
Daylight: If there’s a window above the sink, position to catch it. Don’t fight it, make it the backlight hero.
Detail shots: Cabinet grain texture, handle shadowing, appliance finish, drawer joinery, Cinematic Sequence Wide Layout Corner Angle Counter Slide Handle Close Up Sink w/ Window Light
Mistakes to avoid: Shooting straight on at the cabinets, which only shows flat doors. “Find an angle, depth, always.
How to Shoot a Living Room / Hall
Approach first:
Identify the focal point – fireplace, feature wall, view window, or sofa arrangement.
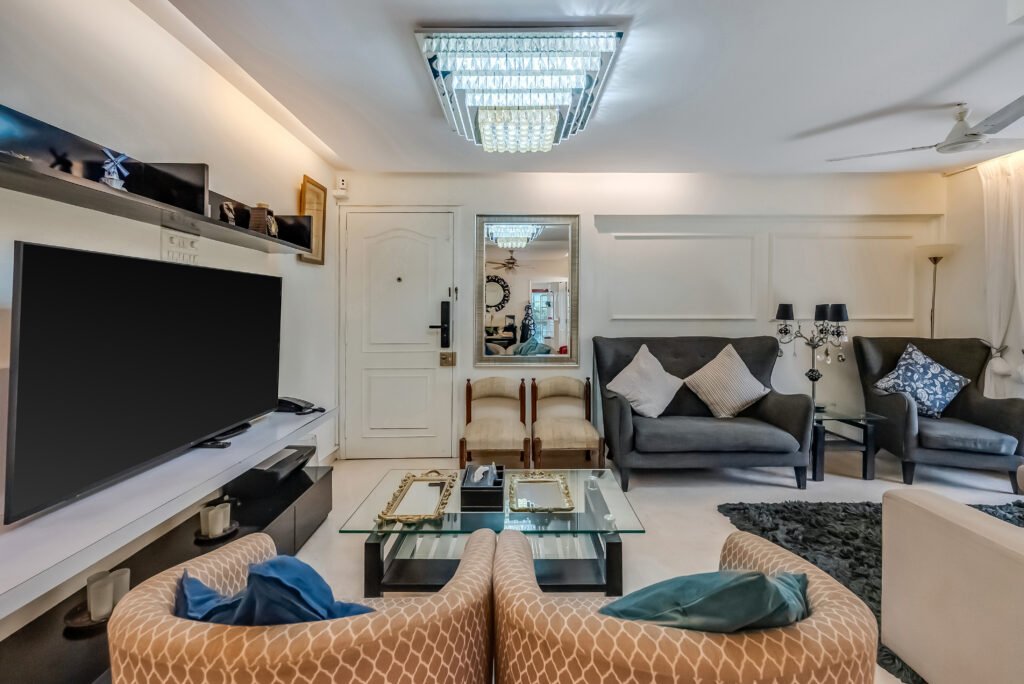
Lens: 35mm for room scale. 50–85mm for furniture detail and texture.
Camera position: Corner entry point – shows maximum depth and furniture layering.
Angles to capture:
- One-point symmetry on the feature wall
- Two-point corner angle showing flow into dining or corridor
- Low angle through coffee table foreground
Camera movement: Gradual push in to main seating area. Allow the sofa arm to fill the foreground and blur softly as the camera moves.
Natural Light: Source: Work with the window and not against it. Shoot toward the direction that puts window light on the side of furniture-not into the lens.
Close-ups: Cushion texture, throw fold, coffee table book stack, lamp base detail.
Cinematic sequence: Wide corner angle > symmetry hero shot > push in > cushion/throw detail > window light close-up.
Common Mistakes: Don’t put the camera in the middle of the room. Shoot from the corners. Corners bring depth. Learn in depth
How to Shoot a Bedroom
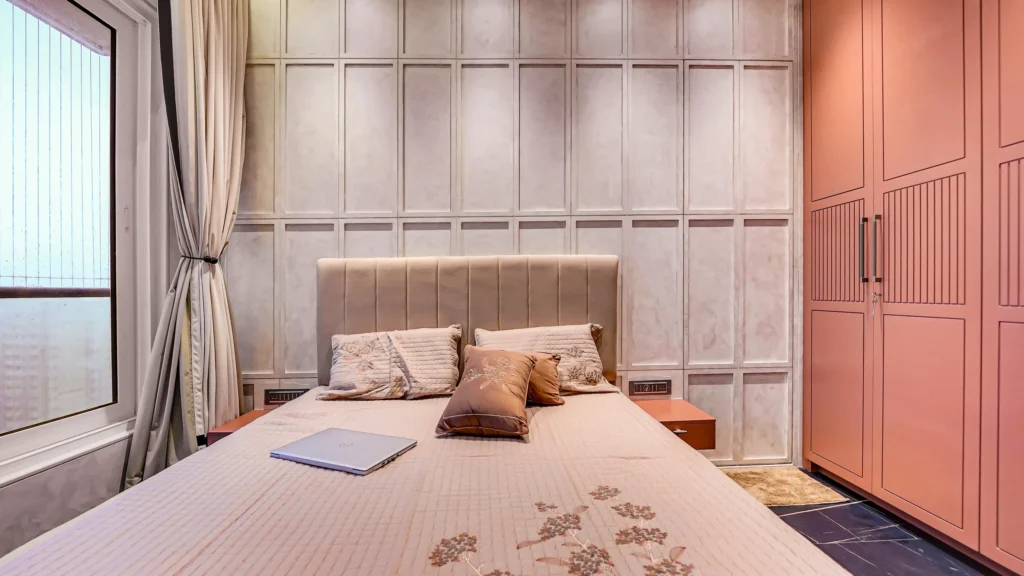
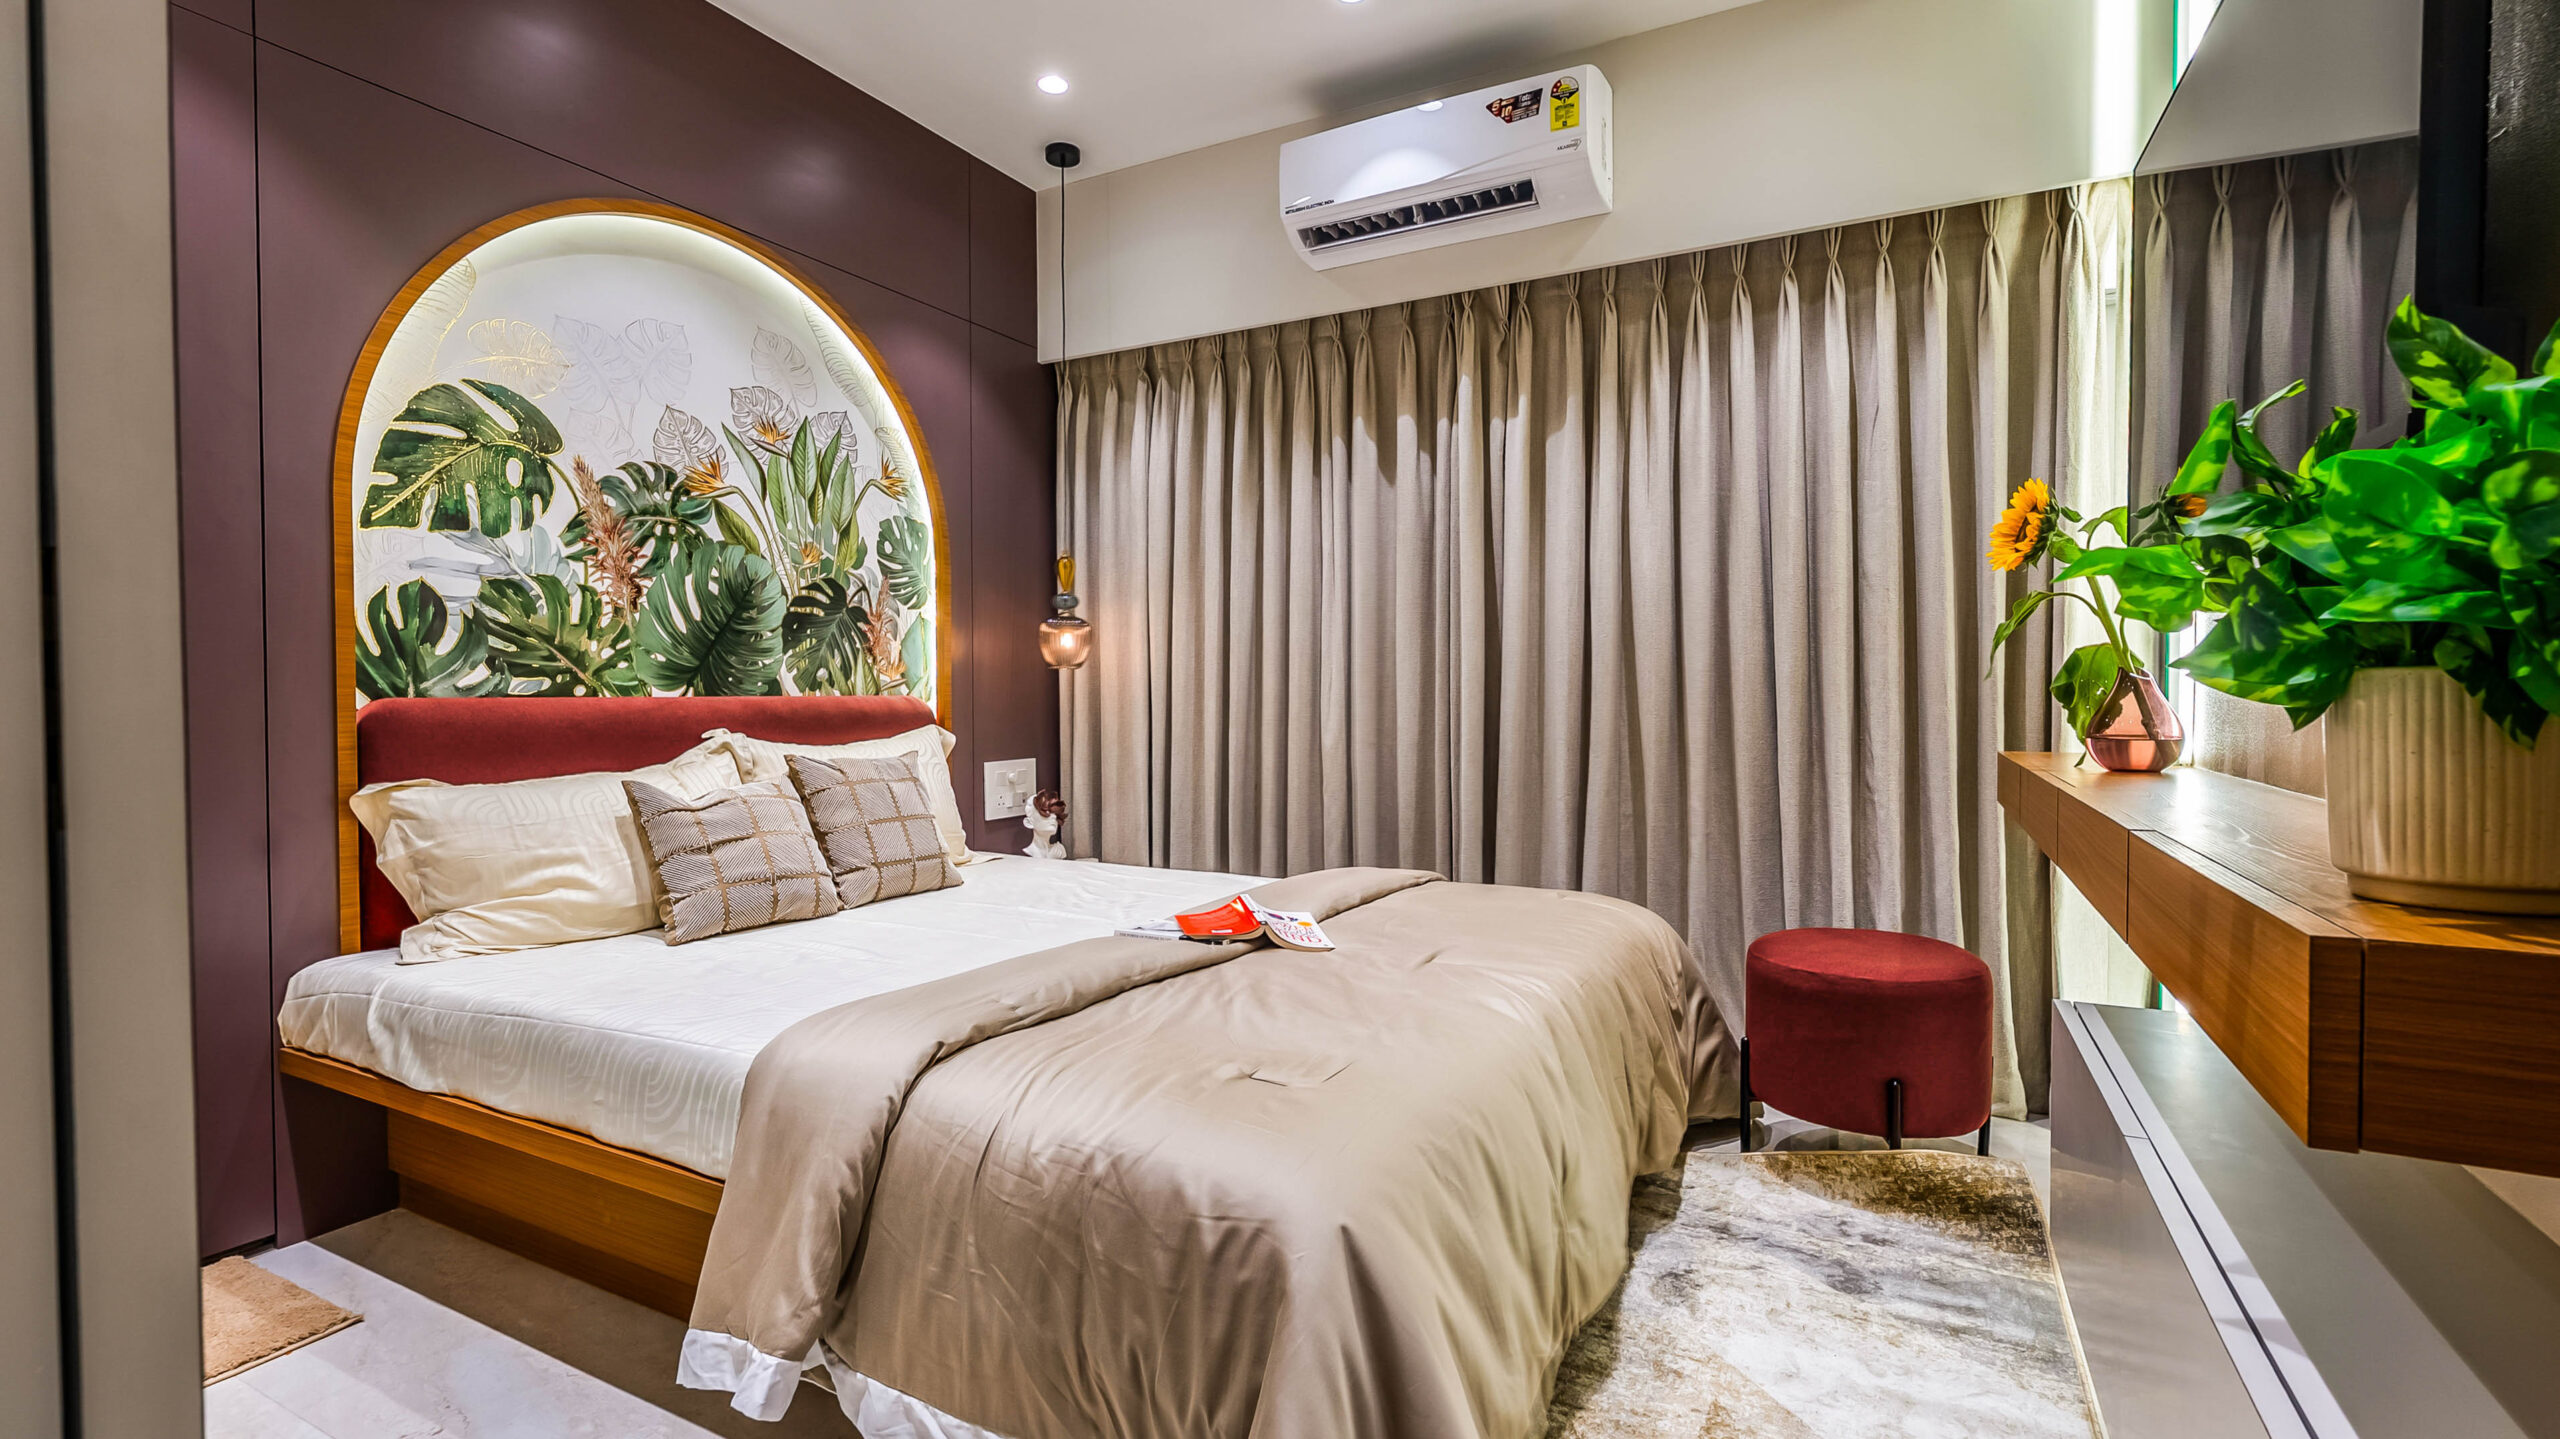
Luxury Bedroom Interior Photography by Cinematic 360
Approach first:
Bedrooms are about mood first, space second. Softer light. Slower movement. More texture.
Lens: 50mm for the full room. 85mm for layered bed detail and headboard texture.
Camera position: Corner of the room, slightly lower than waist height – around 32–36 inches. Creates an intimate, inhabitable feel.
Angles to capture:
- Full bed from corner – shows headboard, linen layering, bedside styling
- Side angle – shows relationship between bed, window, and ceiling height
- Foot-of-bed angle looking up slightly toward headboard
CAMERA MOVEMENT
Slow push-in to the bed. Ultra-fast, faster than it seems natural. Patience rewards bedrooms.
Light sources, natural light: Curtains half open, one band of soft morning light crossing the bed diagonally.
Close-ups: pillow texture, throw weave, bedside lamp glow, window fabric drape.
Sequence: Establish corner shot → side shot → slow push-in → linen → bedside close-up.
Mistakes to avoid: Shooting at eye level – it makes the bed look flat. Always take the bottom.
How to Shoot a Full Apartment / Flat.
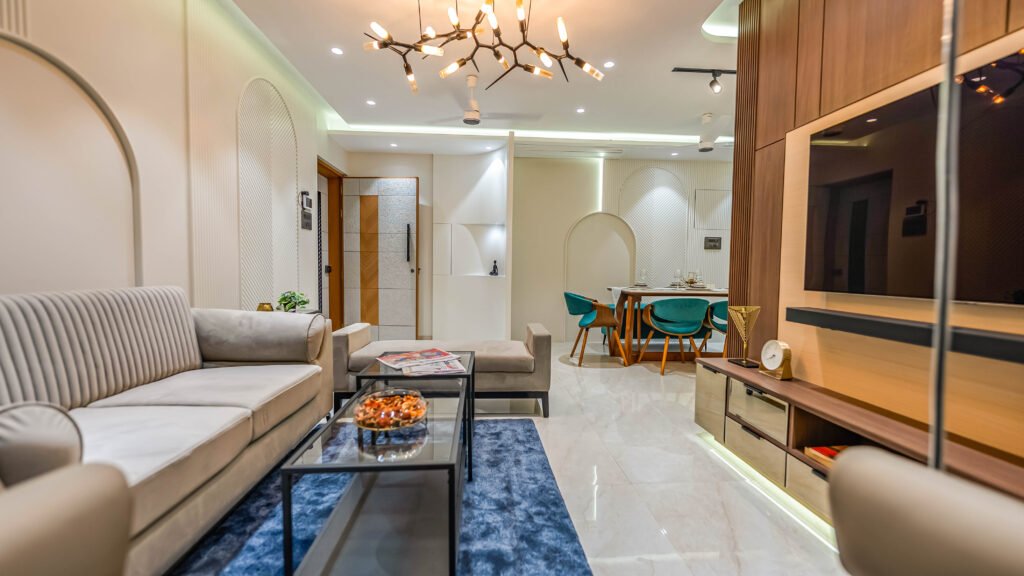
The main difference: do not shoot each room as a single image. Make a cohesive visual story. For clients who want buyers or renters to explore the flow themselves, we usually pair this shoot with a 3D Matterport walkthrough of the same space.
First approach: Follow the natural path a person walks in when entering. Living room to kitchen to bedroom entrance. That is your sequence.
Lens: 24-35mm (to reveal corridors and for transitions), 50mm for room hero shots
Camera Motion: The apartments come to life in the linking shots. Slow gimbal walk from the entrance into the living room. Open the kitchen into the dining area. From the corridor, slide into the bedroom.
Angles to capture:
- Entrance reveal looking in
- Living-to-dining transition shot
- Kitchen viewed through the archway or opening
- Bedroom doorway frame shot
Detail shots: One detail per room – not five. One hero detail that represents the space.
Cinematic sequence: Entrance reveal → living room establishing → kitchen through opening → bedroom doorway → hero detail of each zone.
Mistakes to avoid: Treating each room as a separate shoot. The apartment should feel like one continuous story.
How to Shoot a Luxury Home.
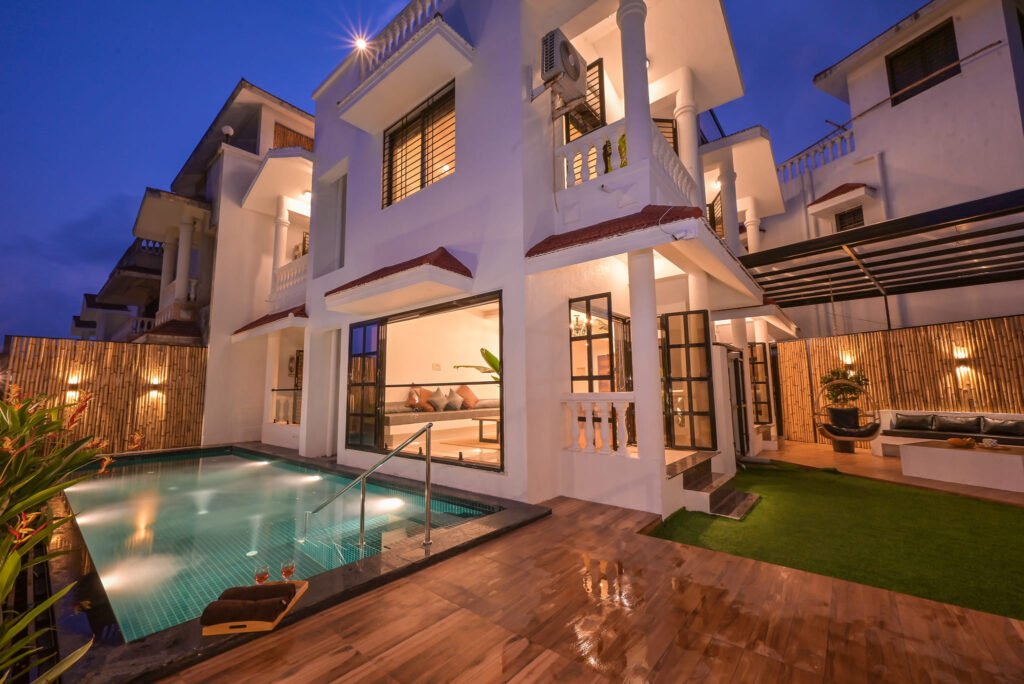
The difference: Luxury homes are about restraint, material quality and spatial quiet. Not too far off.
First approach: Name three hero spaces. Put them first. Don’t spread over 15 rooms with 2 shots each.
Lens: 50mm for all hero shots; 85mm for close-ups of material – marble veining, brass hardware, weave of fabric.
Camera angle: Intentionally. Time. Luxury photography is about stillness.
Angles to shoot:
- Grand architectural perspective – staircase, double-height ceiling, feature wall
- Material close-up – the specific thing that costs the most and looks it
- Window light interaction with a premium surface
How to Shoot a Corporate Office.
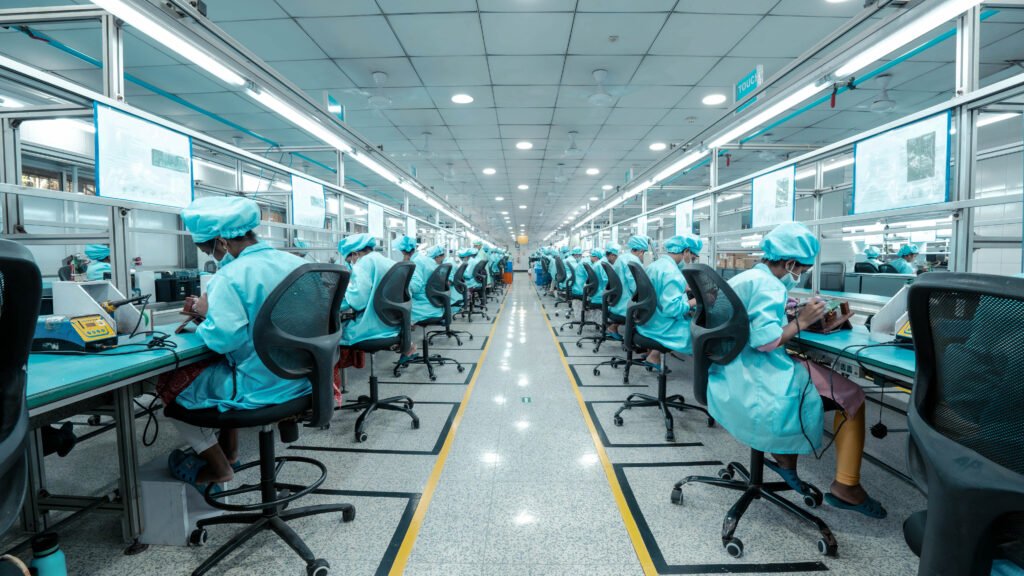
The difference from a workspace:
In a corporate office, there is scale, brand recognition, and a relationship between architecture and people that needs to be communicated – the same brief we work from on our corporate video production shoots, just translated into stills.
First approach: Find the brand moment – the reception area, the boardroom, the feature branded wall. These are the hero images.
Lens: 24-35mm for architecture and scale. 85mm for boardroom detail and close-up of the brand.
Angles to capture:
- Reception hero – brand wall, desk, scale
- Boardroom – from the head of the table looking down the length (one-point perspective)
- Corridor leading-lines shot
- People in meeting – through glass partition for depth
Camera movement:
Slow push-in to reception desk or branded wall. Pull away from the glass wall in the boardroom.
Close-ups: Logo on space, ceiling in architecture, conference table surface, arrangement of chairs.
Sequence: Reception establishing > One-point perspective of boardroom > Leading lines of corridor > Close-up of branded detail
Mistakes to avoid: Don’t shoot the boardroom from the side – always shoot from the head for maximum impact from the leading line.
How to Shoot a Showroom.
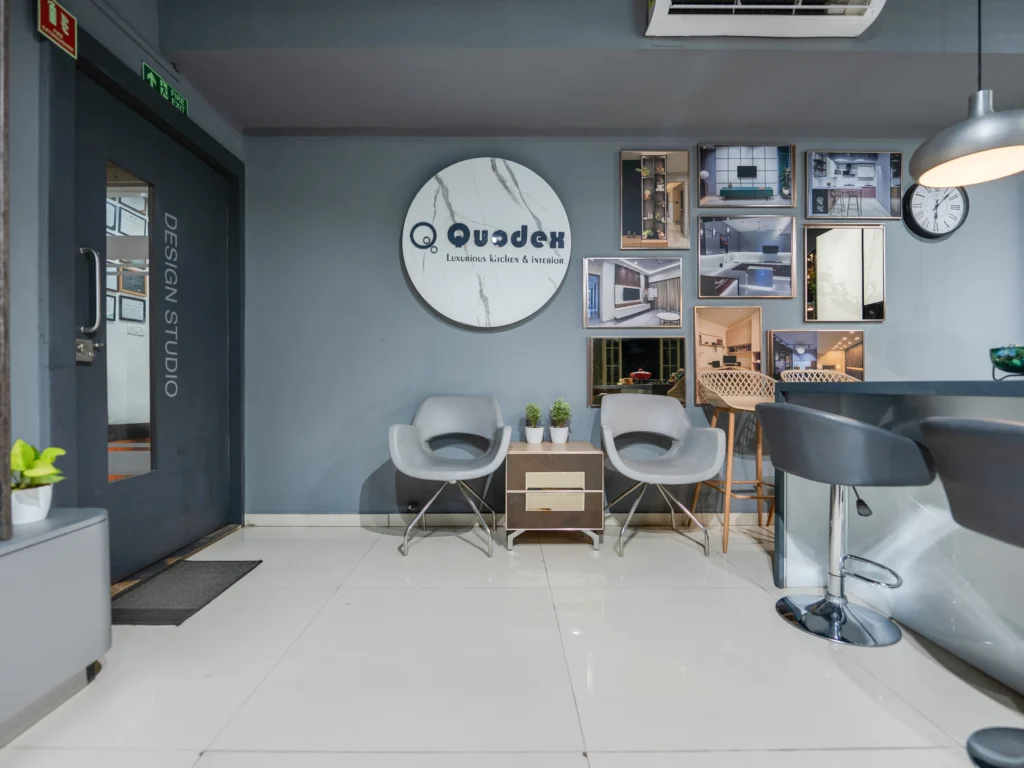
Quodex Interior Design Studio Showroom Photography
The customer journey is the shot list.
First method: Walk the showroom as a customer. Entrance → Hero presentation → Product areas → Detail moments. Shoot that way.
Lens: 24-35mm for the entire floor and customer journey. 85mm for close-ups of individual products.
CAMERA POSITION: Entrance for establishing. Mid-floor ZONE SHOTS. Close for product detail
Angles to capture:
- Entrance reveal – looking into the showroom
- Hero display – the premium product center-stage
- Customer journey angle – looking down the main aisle
- Individual product close-up
Camera movements: Slow walk-through from entrance to hero display. Let the products come in bit by bit as the camera moves forward.
Close-ups: texture of the product, finish of the material, the label/branding, how light bounces off surfaces.
Entrance reveal → Hero establishing shot → Product zone mid shot → Single product close-up → Material detail Cinematic sequence
Common Mistakes: Only photographing the empty showroom. Show products in context – not in isolation.
How to Shoot a Restaurant or Café Interior.
Approach first:
Restaurants have two distinct moods – daytime (bright, lifestyle) and evening (moody, atmospheric). Decide which story to tell. Ideally, shoot both – and pair the space shots with styled food photography of the dishes themselves, since the two together are what actually sell a restaurant online.
Lens: 35mm for full dining room establishing. 50mm for table arrangements. 85mm for food, candle, and detail shots.
Camera position: Corner of the dining room – shows table depth and spatial flow. Never shoot from the center.
Angles to capture:
- Full dining room corner establishing shot
- Individual table setting – styled, candle-lit, flowers
- Bar area – backlit bottles as practical lights
- Kitchen pass or open kitchen if available
Camera movements:
Slow walk-through from entrance to hero display. Let the products come in bit by bit as the camera moves forward.
Close-ups: texture of the product, finish of the material, the label/branding, how light bounces off surfaces.
Entrance reveal → Hero establishing shot → Product zone mid shot → Single product close up → Material detail Cinematic sequence
Common Mistakes: Only photographing the empty showroom. Show products in context – not in isolation.
How to Shoot Architectural Spaces.
H2: How to Shoot Architectural Spaces
Lobbies. Corridors. Staircases. Double-height spaces. Heritage buildings.
The difference? Architecture is the study of scale, geometry and the interaction of light and structure.
First method:
Determine the geometry first. Where can I find the guidelines? Where does the light come in? What’s the main architectural feature?
Lens: 24mm tilt-shift, parallel verticals. For scale, 35mm, people. 85mm for building detail.
Camera position: Center of leading line – corridor, staircase, archway. In architecture, symmetry is your friend.
Angles to capture:
- Full symmetry shot – centered, one-point perspective
- Looking up the staircase or double-height ceiling
- Leading line corridor shot
- Architectural detail – column, arch, material transition
Camera movements: Slow tilt up from floor to ceiling height – dramatically reveals scale. Push slowly through a hallway or archway.
Natural light: Seek out the shafts of light coming through high windows in heritage buildings and lobbies. Position to catch the beam of light, not to battle it.
Detail shots: profile of arch, texture of column, pattern of floor, detail of ceiling, light fixture.
Cinematic sequence: symmetry wide, push-in leading line, scale tilt-up, architectural detail close-up
Mistakes: Camera tilted up, converging verticals. Do not tilt the camera, do not get too close, crop later if you need to.
Building the Final Cinematic Sequence.
The formula that works for every interior:
Establish → Introduce → Move → Detail → Emotion → Hero Shot
- Establish: Wide shot that shows the full space and its context
- Introduce: Medium shot presenting the key design element
- Move: Gimbal or slider movement that connects zones
- Detail: Close-up that shows craft and material quality
- Emotion: The shot with light, mood, and atmosphere – the one that makes someone feel something
- Hero: The definitive single frame that represents the entire space
Every interior type needs all six. The order can shift. All six must be present.
Shooting for the Edit – What Most Photographers Forget
- Start and end every clip with 2 still seconds – editors need handles
- Shoot every movement AND the same subject static – give the editor both options
- Match white balance across every room before moving on
- Expose consistently – half a stop difference between clips feels wrong in the edit
- Shoot cutaways in every space: a hand touching a surface, a door opening, a light switching on
The Flambient Technique for Mixed Interior Lighting
- Frame 1 (Ambient): Expose for the room’s natural glow – no flash
- Frame 2 (Flash): Bounce speedlight off ceiling to cut colour casts
- Frame 3 (Window Pull): Expose explicitly for the exterior view through glass
- Blend in Photoshop using Luminosity Masks – natural result, no HDR look
Use this whenever warm ceiling lights and daylight windows compete in the same frame.
Every Interior You’ve Built Deserves to Be Seen Properly.
You worked on the design for several months, taking into account the materials, the details, and the light.A wide-angle photograph taken at eye level fails to give that work justice. Cinematic360 applies the same cinematic standard that is outlined in this guide when filming interior design projects in Mumbai, such as modular kitchens, luxury homes, corporate offices, restaurants, showrooms, and architectural spaces.
From a single professional shooting day, you can get still photographs, gimbal walkthroughs, vertical reels for Instagram, and full multi-channel asset delivery.
Book an Interior Shoot Consultation with Cinematic360
Or explore our real estate photography, commercial production, and corporate video work to see the approach in action.


[…] parallel layout is exactly where one-point perspective does its best work. Shooting from the entry point with the camera at counter height, both runs lead the eye straight to the back wall – […]