
Put the camera down for a moment.
Before you press record, answer one question: What should the viewer feel by the end of this?
Not what they should see. What they should feel.
That answer shapes every lens choice, every movement, every lighting decision. Cinematography is not a camera skill. It is a storytelling skill expressed through a camera – a concept we break down further in our guide to what actually makes an image feel cinematic. Here is how professionals actually do it. Here is how professionals actually do it.
1. Start With the Story
Every cinematic video needs three things before it has a single shot:
A subject. What or who is this about? A mood. Warm and intimate? Clean and aspirational? Raw and urgent? A sequence. Establishing → detail → action → closing shot.
A brand film for a handmade furniture brand might open wide on the workshop, cut to the craftsman’s hands on raw wood, then close on the finished chair in a home. That arc exists before the camera comes out.
Decide the story. Then shoot it.
2. Choose the Right Lens
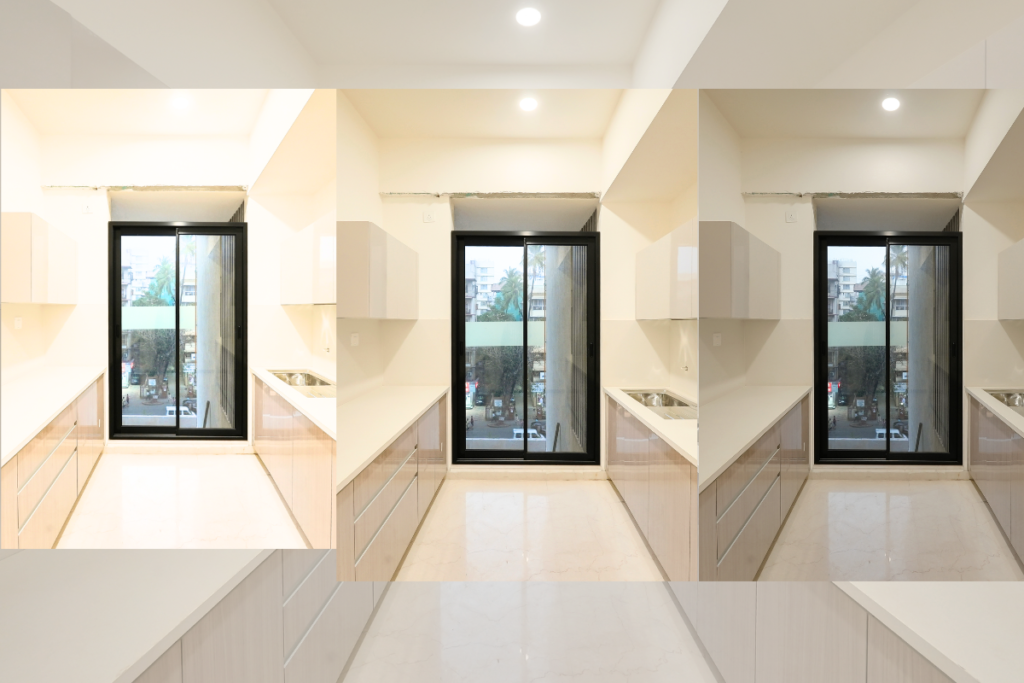
Lighting can dramatically change how an interior space looks, feels, and photographs — a principle we go much deeper on in how to shoot interiors like a cinematographer, including camera height, lens choice per room, and the Flambient technique for mixed lighting.
Focal length changes how the world looks — not just how much fits in frame.
- Wide (16–24mm): Makes spaces feel large. Good for architecture and establishing shots. Distorts edges — use carefully.
- 35mm: Close to natural eyesight. Great for lifestyle and environmental portraits.
- 50mm: The most neutral lens. Works for people, products, corporate — almost everything.
- 85mm: Flattering compression. Separates subject from background beautifully.
- Telephoto (100mm+): Compresses distance. Strong for textures and architectural detail from far away.Use a wide to establish the space. Switch to a 50mm or 85mm for the detail that tells the real story
3. Use Camera Movement With Purpose
Movement is not decoration. Every move should mean something.
- Push-in: Draws attention toward importance.
- Pull-out: Reveals scale or context.
- Tracking: Follows energy — a person walking, a car moving.
- Orbit: Circles the subject. Makes products and people feel three-dimensional.
- Reveal: Camera moves to discover — a door opens, a corner turns, a curtain parts.
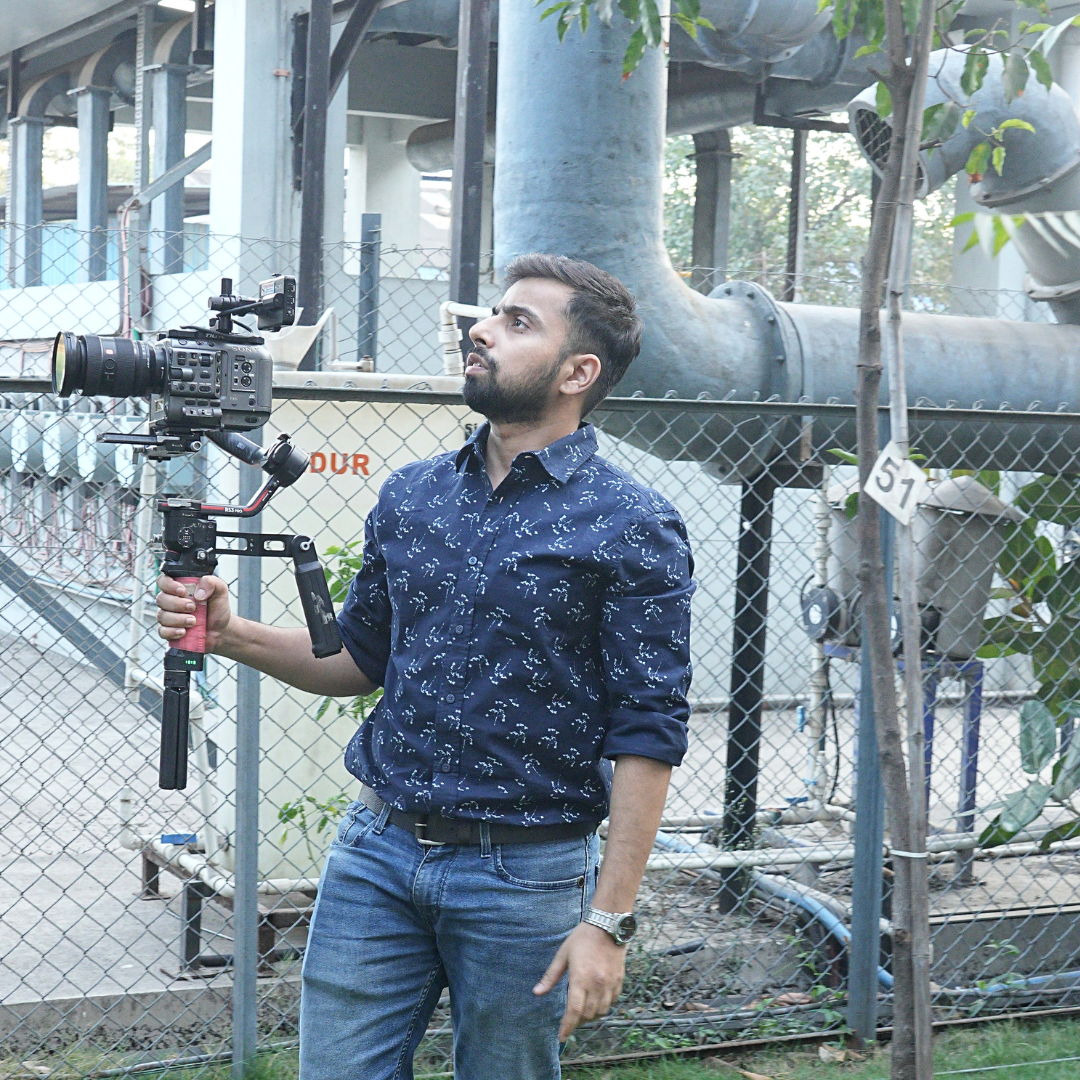
Gimbal = controlled, floating. Handheld = tension, energy, immediacy.
slow orbit shows form and finish. A soft Push in on a person during a conversation draws the viewer in emotionally. For an interior: a lateral slide through a doorway unveils the space progressively.
A bad movement makes a shot weak. Sometimes the most courageous thing you can do is do nothing.
4. Build a Sequence
Pros don’t shoot random clips. They make sequences.
Wide → sets the scene Medium → presents the subject. Close-up → builds connection. Detail → shows craft or texture. Movement → gives energy. Hero shot = the definitive shot.
Jewelry shoot: open on the whole piece, then go to the setting, push into the stone, pull back and have a soft bokeh behind.
For a corporate interview: wide of the office, medium of the person, close on the face, cutaway to hands, back to face for the key line.
The sequence makes footage feel like film, not a folder of clips.
5. Make Detail Shots Cinematic
Detail shots are where the quality of a video is decided.
Use a longer lens — 85mm or above. Get physically close. Open the aperture to f/1.8–f/2.8.
Add a slow, deliberate movement — a tiny push-in, a millimetre-per-second slider pull.
The subject: wood grain, leather stitching, coffee pouring into a cup, a hand pressing a button, architectural joinery on a cabinet.
What makes these shots cinematic is depth of field + light direction + motion.
Flat light, no movement, stopped-down aperture — that’s a product photo. Open it up, find the light, add the movement. Now it’s cinema.
6. Light Before Settings:
Camera settings are secondary. Light is primary.
Direction matters most. Side light creates depth. Backlight creates mood. Front light flattens everything.
Soft light (diffused, bounced, window) is natural and forgiving. Hard light (direct, small source) creates drama.
Natural window light is one of the most cinematic sources available. Position your subject near a window. Use a white card on the shadow side to control contrast.
Practical lights — lamps, screens, candles visible in frame — make a scene feel real.
Negative fill — a black card on the shadow side — deepens shadows and adds dimension.
Fix the light first. Then touch the camera.
7. Create Depth in the Frame
Three planes to the frame: foreground, subject and background.
Most beginners only think about the topic. All three are considered by professionals.
Put something slightly out of focus in the foreground – a leaf, a glass edge, a fabric, a door frame. It makes 3D where flat screens don’t really do it otherwise.
For a person: shoot through plants, railings or a softer foreground. For a product: gently put a complementary object in front. Architecture: Frame the building with a column or branch.
Depth changes a record of something into an experience of something.
8 . Frame With Purpose
Rule of thirds Place subject at an intersection not dead center. Leading lines: Roads, corridors, shelves — they draw the eye to the subject. Symmetry: Reflects accuracy and intent. Negative space. Leaves the subject some room to breathe. Center framing: Break the rule of thirds deliberately—for impact, confrontation or formality.
Rules are there to be understood. Break them intentionally, never by mistake.
9. Camera Settings – Kept Simple
- Frame rate: 24fps for cinema. 25fps for broadcast. 60fps for slow motion.
- Shutter speed: Double your frame rate. At 24fps, set 1/50. This gives natural motion blur.
- Aperture: Lower f-number = shallower depth of field = more cinematic separation.
- ISO: As low as possible. Raise it only when there is no other option.
- White balance: Set manually. Auto shifts mid-shot and ruins consistency.
- Log / Picture profile: Shoot flat if you plan to colour grade. Retains maximum highlight and shadow detail.
10. Shoot for the Edit.
Make shots that can actually cut together.
Every sequence needs: wide, medium, close, cutaway, movement, detail.
Start every shot with two still seconds before transition. Stop, and end with two silent seconds. Editors need handles.
If you do a push in get the same subject static also . Let the editor take care of it.
Great footage can’t save a sequence that lacks coverage, cutaways and ending frames.
11. Color and Consistency.
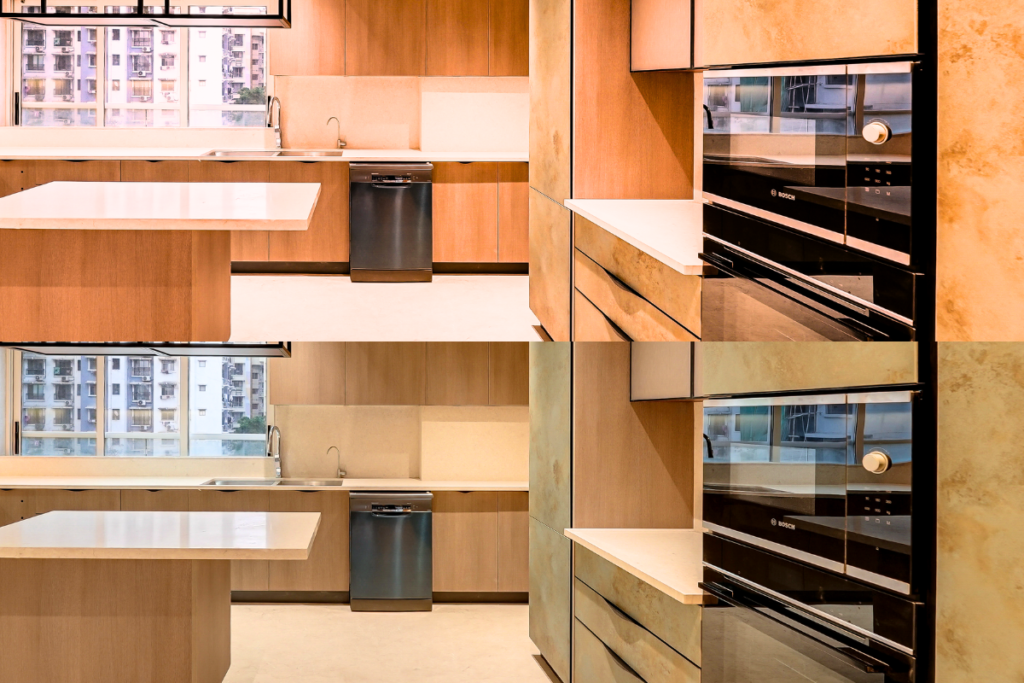
The same modern kitchen photographed from different angles to highlight its layout, materials, finishes, and details.
Colour grading enhances well-shot footage. It cannot rescue inconsistent footage. Match white balance across every shot. Expose consistently — half a stop of difference between cuts feels wrong even when the viewer can’t name why. Grade for mood: warm shadows feel intimate, cool highlights feel modern, lifted blacks feel cinematic. Skin tones are the fastest test. If skin looks wrong, the whole image feels wrong.
The Formula
Establish → Introduce → Move → Detail → Emotion → Hero Shot
This works for a product launch, a brand film, a corporate profile, an immersive architectural walkthrough, a food shoot, a jewellery campaign.
Cinematic360 shoots brand films, corporate content, real estate video, and commercial projects across Mumbai. See our work → | Talk to us